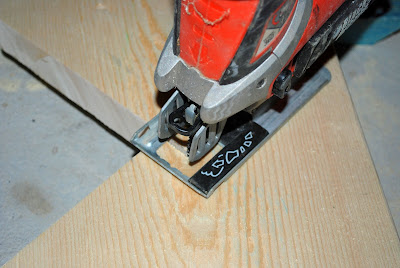
With the staircase planned and landing built, I proceeded to build the upper and lower sets of stairs. The first step was to draw out a stringer using a framing square, and then cut it out using a circular saw (to do the initial cut) and a jig saw (to finish the cut from the opposite side).

 I then checked that the stringer fit the space and was level, and made a few minor adjustments. Once the stringer was perfect, I traced and copied it to make two more identical stringers. This process was followed to create the set of three 2x12 stringers for both the upper stairs and lower stairs.
 The stringers were spaced out from the wall using a 2x4, leaving space for drywall (1/2") and a skirtboard (1"). The stringers were then secured to the landing and floor above/below, as well as the adjacent wall. Additional support walls would be added from underneath as well.
Treads and risers were then cut with a circular saw and installed using construction adhesive and flooring screws. We ended up with a rise of 7 1/4" and a run of 8" for each step, and were able to gain an inch from the width of the old stairs. The stairs were created with the intention of finishing with engineered wood, so at that time a bullnose will also be added.
 ... and the quality assurance department gave the stairs a passing grade.


