Sunday, January 30, 2011
Basement Wall #1 Framed
Water Supply Upgrade


Saturday, January 29, 2011
Thursday, January 27, 2011
Wednesday, January 26, 2011
Tuesday, January 25, 2011
Monday, January 24, 2011
Plan for Sliding Doors

Sunday, January 23, 2011
Stairwell Insulated

$5 Pocket Doors

Storage Area Under Stairs Framed
Saturday, January 22, 2011
Friday, January 21, 2011
Wednesday, January 19, 2011
Tuesday, January 18, 2011
Monday, January 17, 2011
Saturday, January 15, 2011
Basement Staircase 3 - Stairs


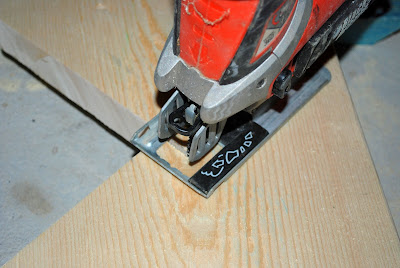
Treads and risers were then cut with a circular saw and installed using construction adhesive and flooring screws. We ended up with a rise of 7 1/4" and a run of 8" for each step, and were able to gain an inch from the width of the old stairs. The stairs were created with the intention of finishing with engineered wood, so at that time a bullnose will also be added.

Wednesday, January 12, 2011
Moving the Tub into the Basement


 The tub is now sitting in the basement patiently waiting to be installed.
Monday, January 10, 2011
Basement Staircase 2 - Landing
We did not have much flexibility with the new stairs, as the location of the kitchen door and side door could not be changed. Drawing up the plans for the stairs was not too difficult, but I checked the measurements over and over to avoid duplicate work (and I did find a couple of errors along the way). I treated the landing like a big step, so the rise and run are consistent between the upper and lower staircase. It would have been nice to decrease the rise a bit and increase the run a bit, but that just was not possible with the location of the side door and first floor joists.
 The first step in building the stairs was to frame the wall beside the stairwell.
Once that wall was in place, I installed the landing using 2x10's and 3/4" plywood. This landing is supported on one side by the framed wall and on the other side by a half wall and some openings in the bricks underneath the door.


